Installing Linux For the First Time
Installing Linux for the first time can feel daunting. It's also quite freeing and rewarding. Let's get you started.


Some of you built computers from scratch in your younger days. Some of you still do, and my next computer might be a "build your own" laptop, but that's a story for another time. For many more of you, a computer has always come pre-built, with an operating system already installed on it. And while you can buy computers with Linux already installed on them, this post is all about installing Linux yourself on a computer that will be your regular desktop or laptop computer.
Getting Started
Step 1: Find a paper bag to hyperventilate into.
No, that's not step one. But, that is a good time to point out that you're going to do things with your computer that you may have never done before. You're going to make a bootable USB drive. You're going to enter the BIOS to ensure your computer boots from the USB drive. And you're going to delete whatever was on the computer's hard drive to overwrite it with your Linux operating system. As such, I strongly recommend that you do this on a "spare" computer that is at least a year old. I also strongly recommend you read this entire post before you decide to start in for yourself, because here's the rub: if you aren't comfortable with these steps, you're not going to be comfortable with the steps to "go back" to your old operating system on that same hardware.
If I haven't scared you off, let's jump in.
Step 1: Prepare Your Hardware
The computer you want to try Linux out on cannot be a Chromebook or a Macintosh. (It can, but that's not for beginners, or appropriate for this process, so let's just stick with this.) It should be a recent Windows computer, either desktop or laptop. I would avoid Windows Surface hardware for your first attempt as well. Make sure you've backed up any files you want to keep either to an external hard drive for the best experience. A NAS or a cloud backup are ok as well.
As a best practice, I strongly recommend making sure your BIOS is updated to the latest version as well. I can't just write you instructions for doing this, as every manufacturer has their own way of doing this. Some quick searching of the support site for your computer manufacturer (possibly with the help of a good clear picture of your serial and model numbers - something you can zoom into as they're often REALLY DANG SMALL) will assist you in that process.
You will also need at least one (two might be best) USB "thumb drive" that is at least 4GB in capacity and that has no important data on it. Yes, this means it can't be the drive you just backed up your files onto. This drive will be formatted and wiped to become the "installer" for your new Linux system. (A second drive could be used and formatted as the installer to re-install Windows, but you may also need some drivers from your computer manufacturer - that's a more in-depth conversation.) This USB drive needs to have a compatible interface for your computer. So if the computer you're doing this to only has USB A (the old, rectangular connector), don't choose a USB drive that only has a USB C connector). Speed of the drive isn't that important, but a USB 3.x drive (yes, USB has numbers for (basically) speed and letters for interface type) would be far better than a 2.x drive.
 Contributors to Wikimedia projects
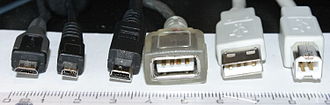
Can't tell your USB hardware without a scorecard? Here's your cheat-sheet.
If you're performing this on a laptop then please also make sure the battery is healthy and you are plugged in during the entire process.
If your mouse and keyboard are not wired, I strongly recommend using ones with a dongle during the installation process. (very hard to set up a Bluetooth keyboard without a wired or dongle-connected keyboard already connected)
Finally, I've found installation media - for both Windows and Linux - sometimes really needs an Ethernet connection (as opposed to WiFi) to work from the start. You may need to get a USB to Ethernet adapter and a cable to plug into your switch/firewall device to be sure you have network connectivity to download drivers and patches for your hardware.
Step 2: Create Your Installer USB Drive
This step starts with choosing your desired Linux version. But for the sake of this process, we're going to choose the latest version of Linux Mint with the Cinnamon desktop, which you can download from here:
 Linux Mint
This link goes to the download page for the latest Mint with Cinnamon
Choose one of the download methods on that page to download the latest .iso file, likely to be named something like "linuxmint-21.3-cinnamon-64bit.iso," to wherever you download files on your computer.
Next, we need to download a utility to burn this ISO image onto your flash drive as an executable, bootable image. Doing this manually in Windows is not straightforward - you can't just copy the .iso file to the thumb drive - so we'll use a utility for this. For the sake of this post, we'll use this one called Etcher:


The ISO "burner" app we'll use for this process, available for Windows, MacOS, and Linux
Install Etcher by double-clicking the downloaded installer and installing like you would any other executable. Once installed, plug in your USB thumb drive to become the install media and run the app and you should see an interface like this:
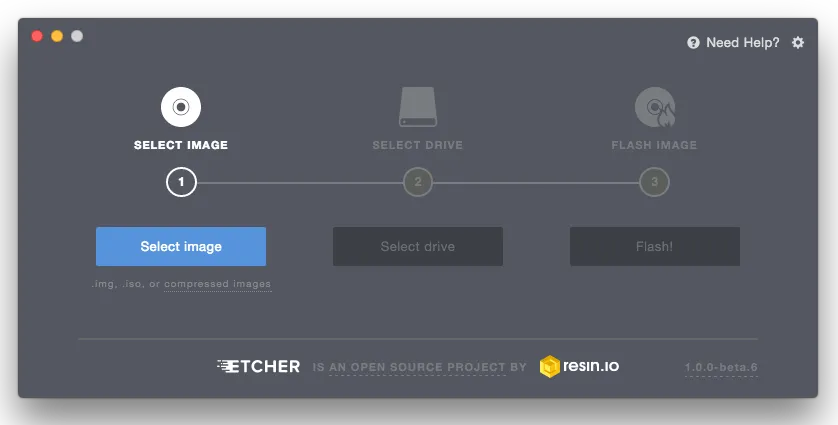
Choose the .iso image once you hit the "Select image" button, and follow up by choosing your newly inserted USB drive after hitting the "Select drive" button, and execute the process with the "Flash!" button. The process of writing to your media will likely take up to a couple of minutes, trust the process. Once completed, close out Etcher.
Step 2.5 - Optional
If you want to, this is a great time to utilize the Windows 11 Installation Assistant to prepare a second USB drive in case you want to reinstall Windows on your computer. Just make sure you use a DIFFERENT thumb drive, and you'll need to check with your computer vendor (like you did for the BIOS update) for any drivers (hard-drive drivers are often the ones you have to get specially) if you're going to install Windows from scratch. (I've had this bite me in the butt more than once - I don't like to talk about it)
Step 3 - Reboot Into BIOS
There are several ways to do this. The easiest is to mash whichever button your BIOS responds to appropriately at boot to get into the BIOS. But if you don't know which button, well, that doesn't work well. So let's go with the reliable Windows way that works no matter what your hardware is.
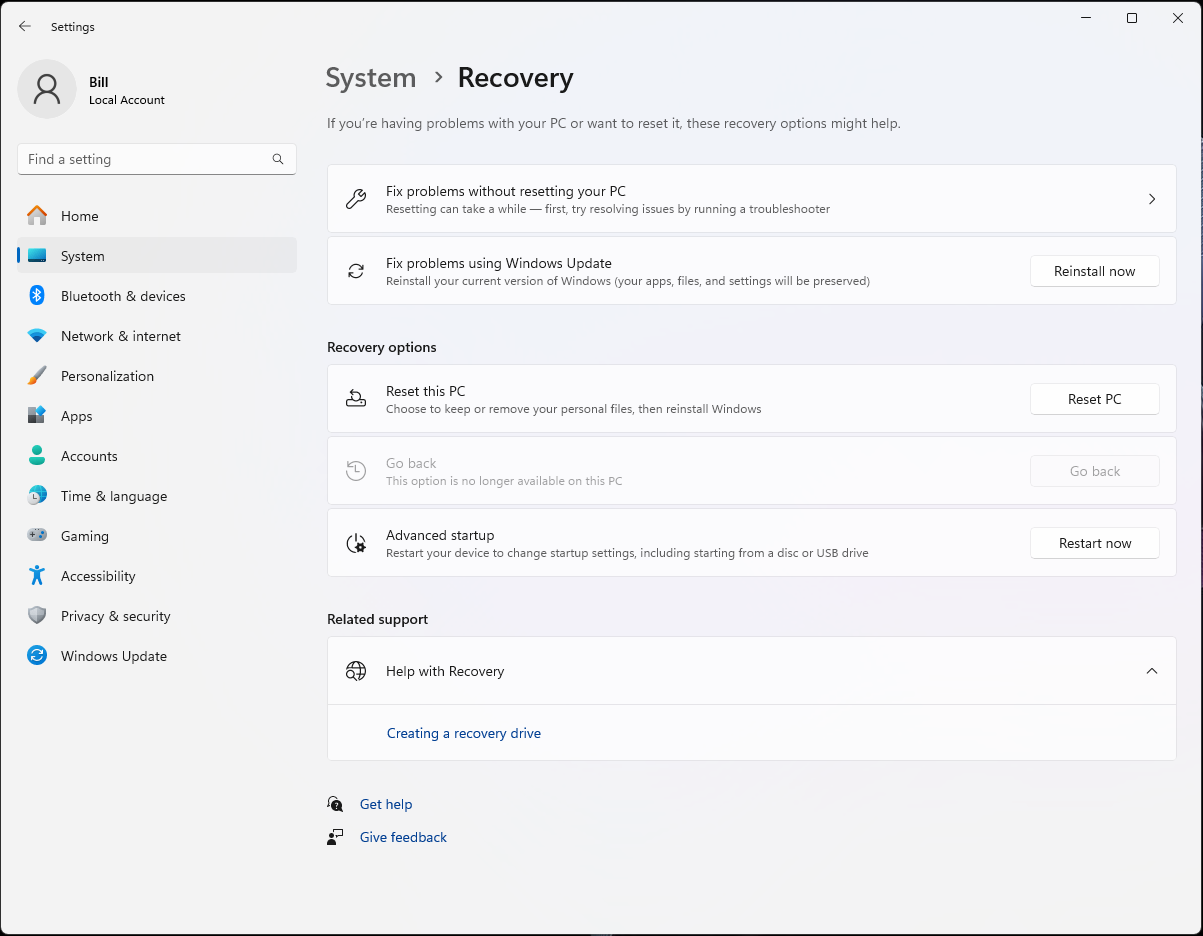
- Making sure your Linux installation media (USB drive) is connected, in the "Settings" App search for "Advanced startup" which should bring you to the System/Recovery window. Hit the "Restart now" button where Advanced startup is on the right side.
- On reboot you'll see a blue screen with a few options on it. Choose "Troubleshooting" on the first screen, "Advanced Options" on the second, and "UFEI Firmware Settings on the 3rd. Then, hit the reboot prompt.
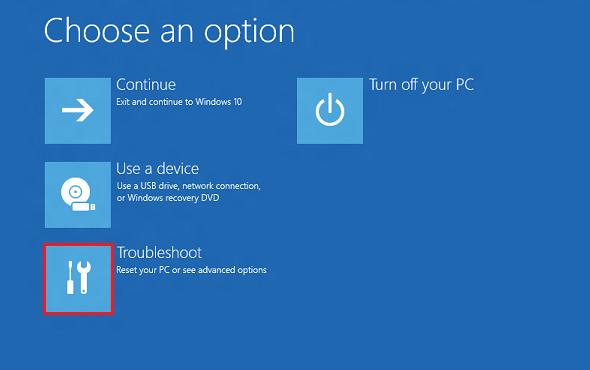
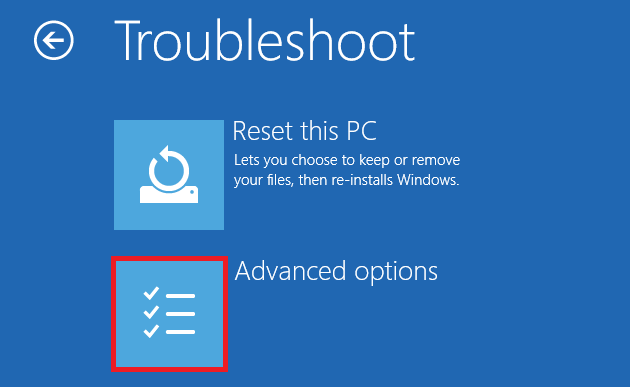
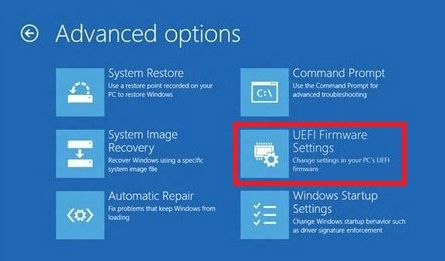
Stepping through the blue screens
Step 4 - Navigating BIOS
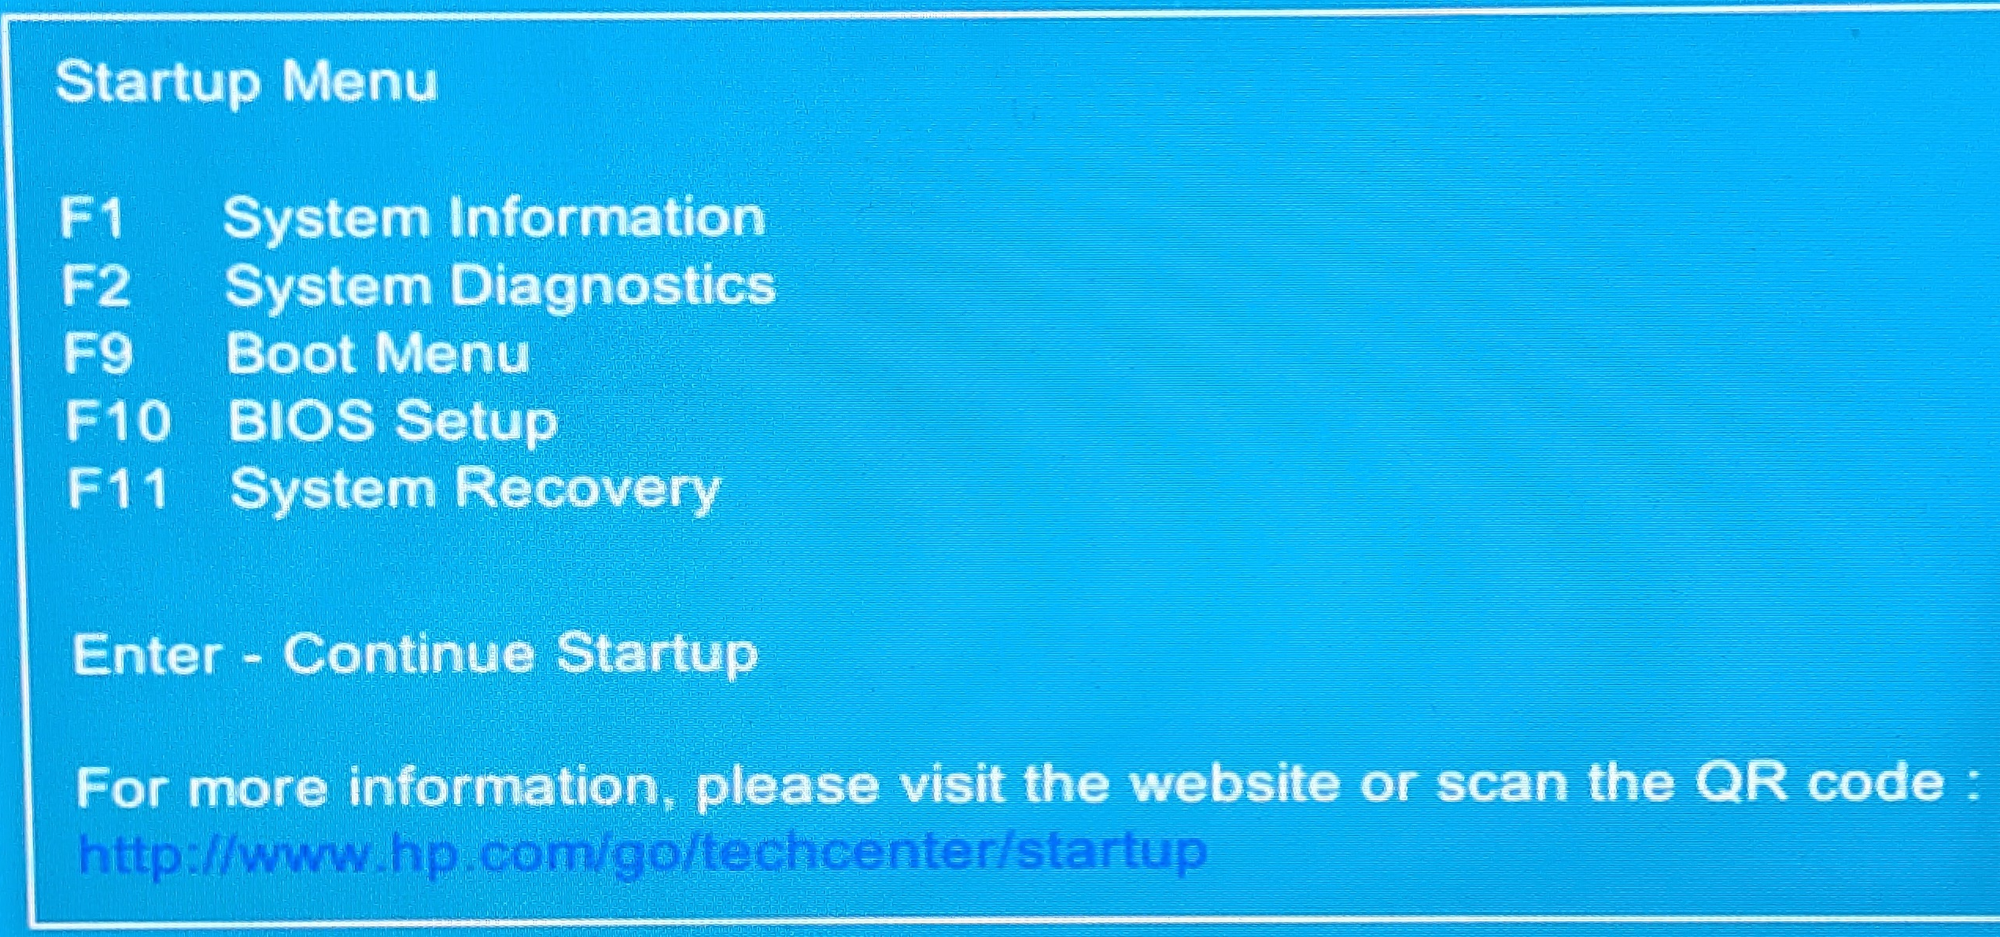
Your BIOS will differ from mine, and that's unfortunate. Mine offered me a simple menu of options, and the one you're looking for is the "Boot Menu."
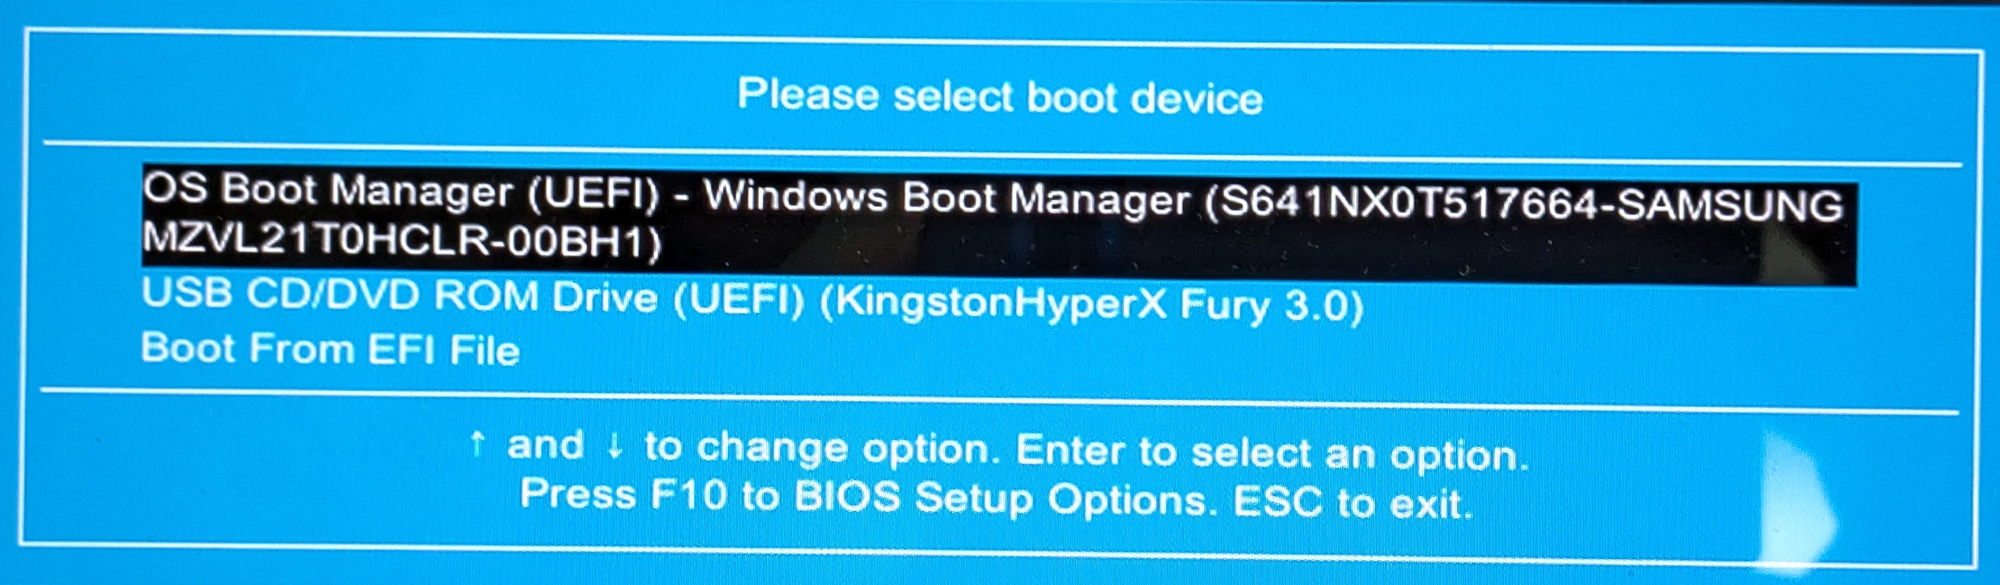
Once there, I was given a list of the possible boot options. The first one was to just boot into Windows normally. The second one was my USB thumb drive. I selected the USB drive and hit "Enter."
Don't worry! This isn't the point of no return yet. Your computer is going to boot into a Linux desktop. You may see a menu like the one below, go ahead and choose the first option and hit "Enter."

Step 5 - The Linux Desktop
Yes, at this point we're still "getting started." Unless you hit the "Install Linux Mint" icon in the upper left, anything you do on this screen will evaporate when you shut down the computer. Yes, you could actually start playing with some of the default systems, like browsing the web with Firefox (see the orange icon, 3rd from the left at the bottom). However, first thing is first - in the lower right you'll see the networking icon (Bluetooth, network, sound, power, and clock). If you have Ethernet connected, that should show as connected. If not, click on the icon and set up your WiFi connection like you would on any device.
Congratulations, you can play like this for hours if you like - though I wouldn't recommend it. Time to commit.
Installing Linux Mint
Start the installation by double-clicking on the "CD" icon in the upper right that is labeled "Install Linux Mint." You'll be prompted with the first of many screens that need your input.
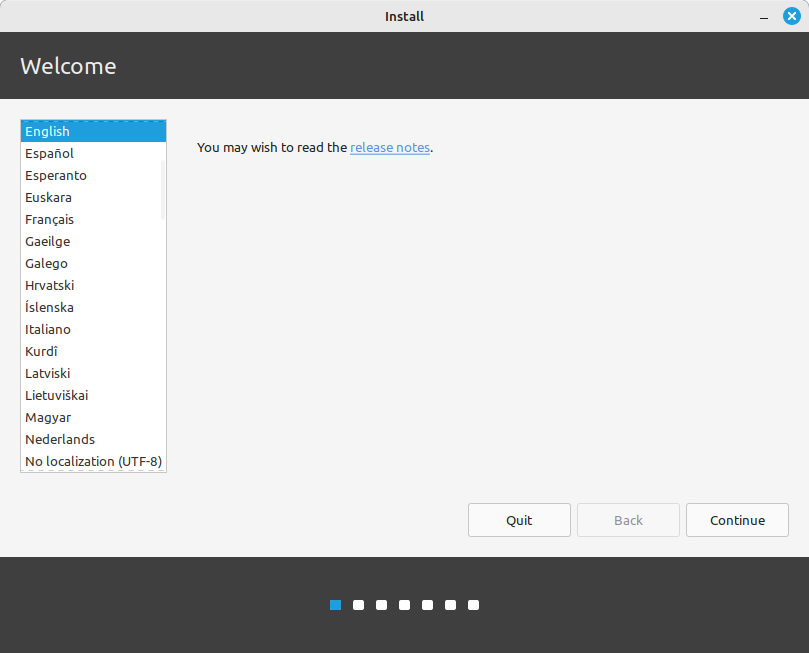
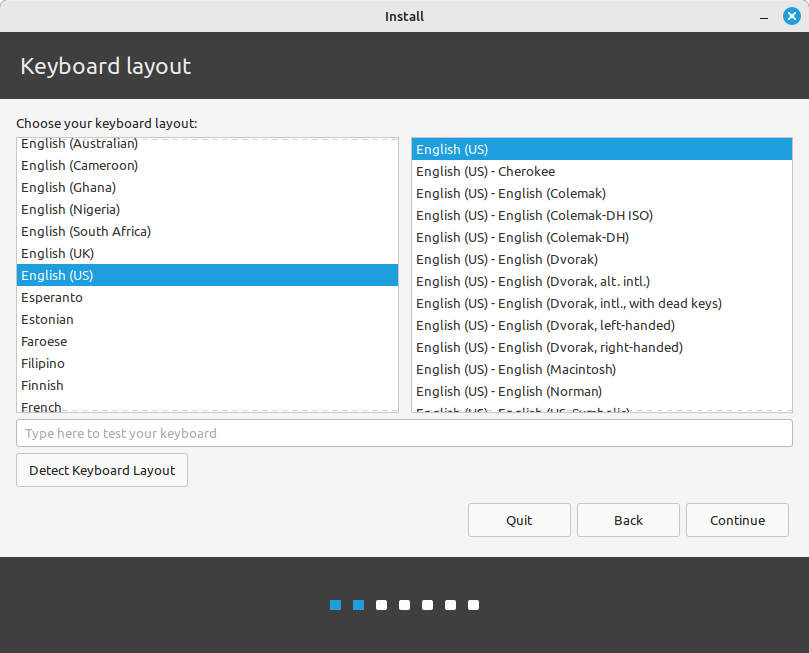
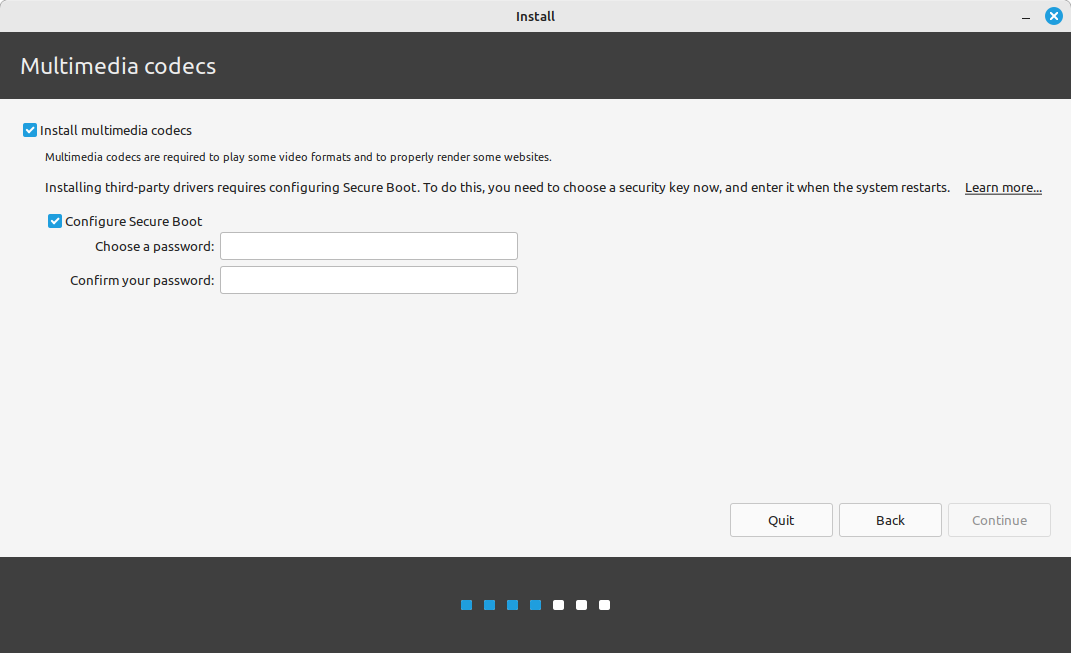
The first two screens were easy, the third one may need some input. This screen asks you if you want multi-media codecs installed. As a person who wants to watch video and listen to audio from services and such on Linux, you will need to check this box. However, that brings us to the question of "secure boot." You probably have that enabled in BIOS, and that's generally a good thing for security purposes. So make sure, if shown, that check-box is checked as well. Then, create a one-time-use password that you'll type in twice to verify you typed it correctly(and write it down, if you goof it up you get to do this whole install all over again). You will only use this password once, so use your own judgement on how strong it is. Once you've created a password, continue. It may take a few moments to process this for you, do not be alarmed.
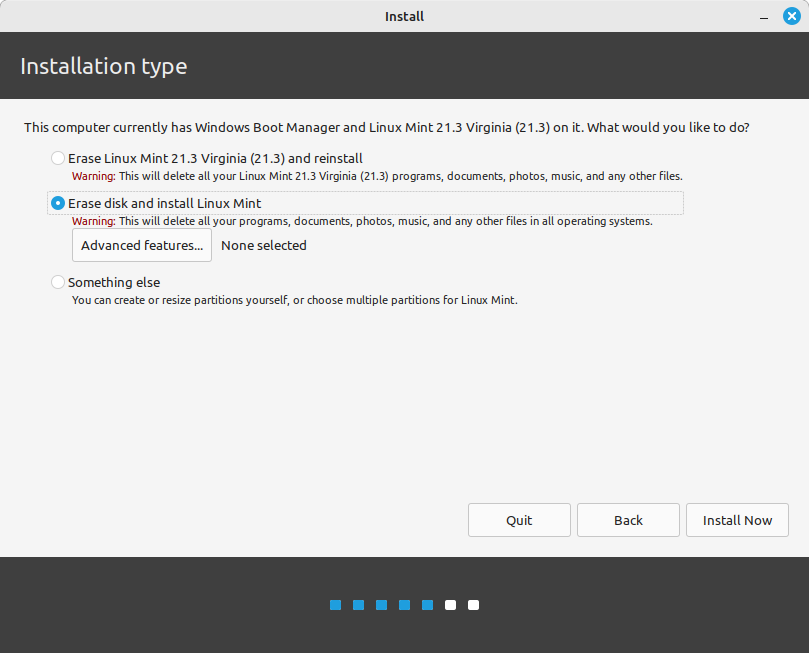
This is where we're getting to the nitty gritty. For this installation, choose the "Erase disk and install Linux Mint." Hey, you're the one who wanted to try this out, in for a penny... Then hit continue. The rest of the options are a bit more advanced than we need for today.
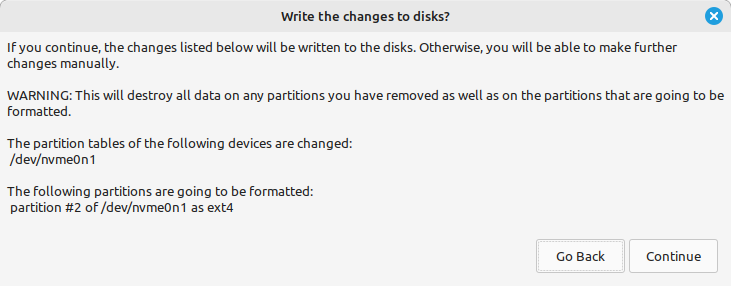
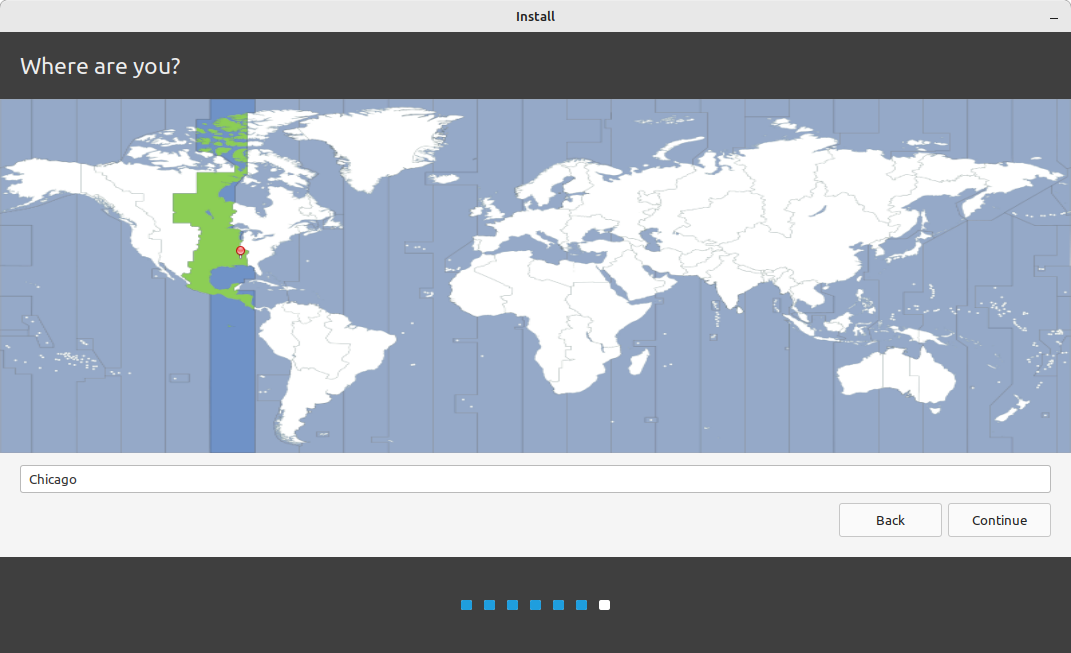
This warning will pop up as soon as you hit continue on that previous screen. The list of partitions may be different, but hitting continue here really gets things moving. Then we get to screen five and six.
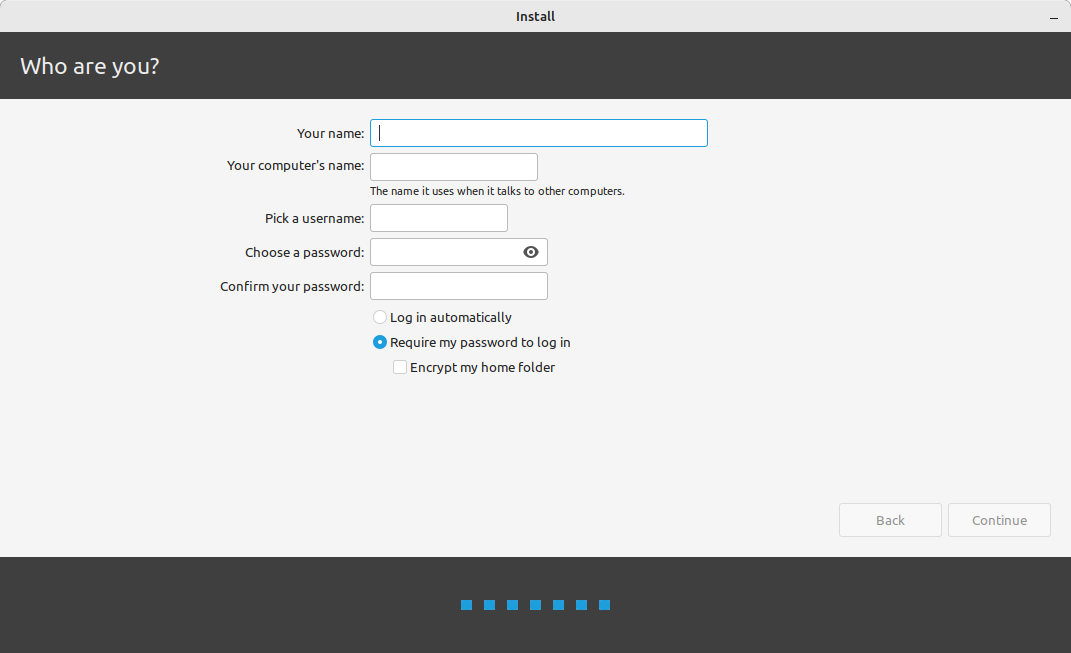
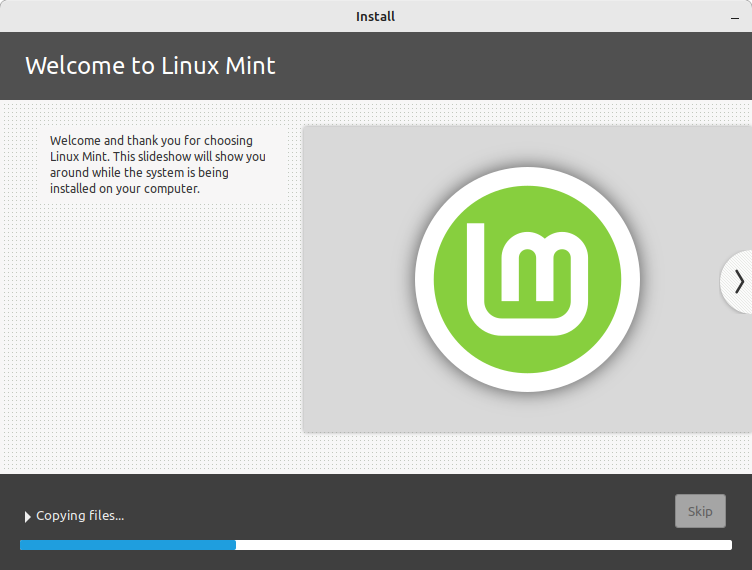
This is the last input you need to provide, here on screen 6. You can do as you like for all the other entries, but I recommend that you do NOT choose "log in automatically." That's just poor cybersecurity. Choosing to encrypt the home folders is a good balance between personal privacy and security along with performance - encrypting the whole disk can degrade performance, and your personal files will live in your home directory anyway. Hit continue, and you'll have the joy of watching Linux Mint install on your computer.
Once the installation is done, you'll see the following message.
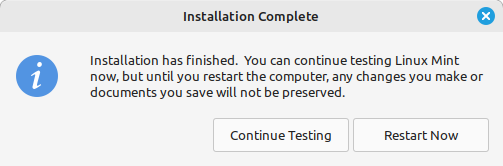
Clicking "Restart Now" will start the reboot process, which will then ask you to remove your installation media (the thumb drive) and hit "Enter" to finish rebooting.
That Pesky "Secure Boot" Password
As you reboot the computer, if you had to set a secure boot password your BIOS will ask you if you want to "enroll" a key (mine calls it an MOK). You wish to do so, and when you choose to enroll the key you may have a few screens to go before it asks you for the password. Type in the password, and once that is successful choose an option to carry on with booting. You can then forget that password, burn the paper you wrote it down on, whatever floats your boat. If secure boot didn't show up, perhaps because it was turned off, you won't have to worry about this step.
Congratulations, You've Installed Linux For the First Time!
This post is approaching 2200 words, and has tons of pictures. For the sake of length, I'll write up another post about things to do the first time you log into your new Linux environment.